How to Prevent Mold After a Flood
The words “water damage” and “mold” are often synonymous – with one following the other in such a short time period that it can be hard to differentiate the two. But it doesn’t have to be this way – and if you act fast you can prevent mold and mildew from forming even after major floods.
Today we’ll examine the first steps you need to take to prevent mold after a flood – although keep in mind that the EPA recommends professional mold remediation for floods impacting an area larger than 10 square feet. Even if your flood damage is more extensive, you can start these steps while your disaster restoration company is on their way!
Why does mold develop after water damage?
The reason for mold forming is simple: after a flood you have created the perfect mold breeding grounds.
Normally, the only thing that holds back mold growth is your home’s humidity level. Mold spores are found literally everywhere on earth and enjoy eating most of the things our homes are made out of, however when relative humidity is below 60% the spores will remain inactive. Mold grows faster in higher humidity – with conditions over 70% leading to extremely rapid mold growth.
After a flood, humidity levels soar as the water in soaked drywall, upholstery, and carpets evaporates – and without intervention mold will quickly begin to bloom – sometimes within 48 hours!
Mold Prevention For Flooded Homes
Remember, the reason mold growth happens after flood waters recede is simple: high humidity allows mold to grow. This means that the DIY steps necessary to prevent mold growth are nearly entirely centered around drying out the impacted areas as quickly as possible.
Step 1) Protect yourself
It’s understandable that homeowners are going to be eager to start addressing water damage as soon as possible after a flood event, but first it is imperative to take the necessary precautions.
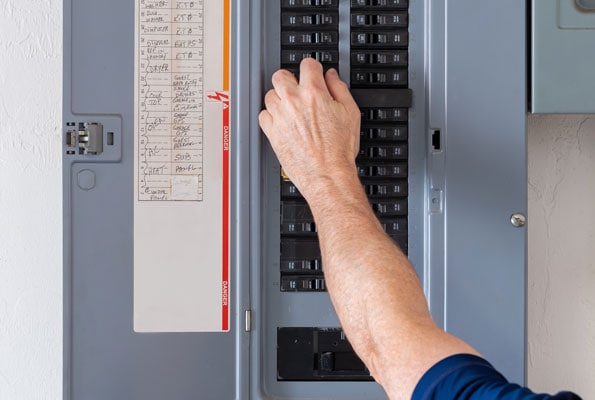
Any time your home experiences flooding you need to be wary about live electrical connections. Be sure to turn off the electricity at the circuit breaker before entering into any flood waters.
Depending on the source of the flood waters, you may need to be cautious of the waters themselves. A burst pipe represents relatively little risk of infection, while sewage backups present serious biohazardous risks and should only be handled by professionals. Natural disasters like floods and storm surge are somewhere in the middle, and these floodwaters may be contaminated with fecal coliform bacteria from septic tanks or sewage systems.
We recommend that you wear personal protective equipment, including gloves, respirator, googles, and boots.
Step 2) Remove standing water
The drying process can only begin once the water is gone – so, after seeing to your personal safety, this is your number one priority.
Depending on the areas affected by flooding, the process of water removal can vary widely. For ground level structures with hard floors it may be as simple as using a wide push broom or squeegee to physically push the water out of your space.
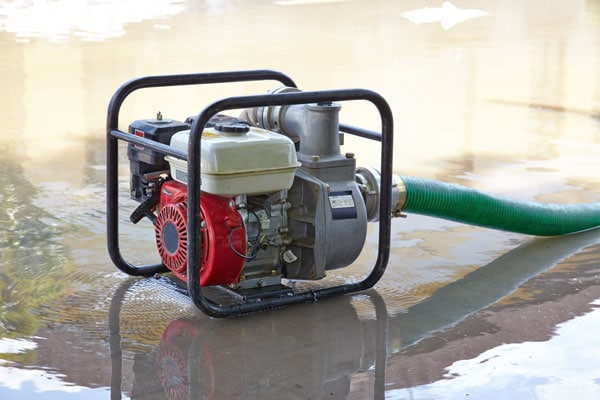
Flooded basements will require pumps – not something that most homeowners will have easy access to – and will likely require professional assistance to fully drain. For smaller floods, a wet/dry vacuum is a good option for water removal.
Note: When using a shop vac to suck up water, be sure to remove the air filter first.
Step 3) Remove affected flooring and upholstery
Outside of poured concrete floors or tile flooring, most floors will be irreparably damaged by floodwaters and will need to be removed.
It is best to remove them early in the process as soaked floors will be difficult to thoroughly dry and will serve as a reservoir of water which mold will use to grow. Area rugs, upholstery, and any other wet items should be removed and put somewhere safe to dry.
Step 4) Dispose of any damaged items
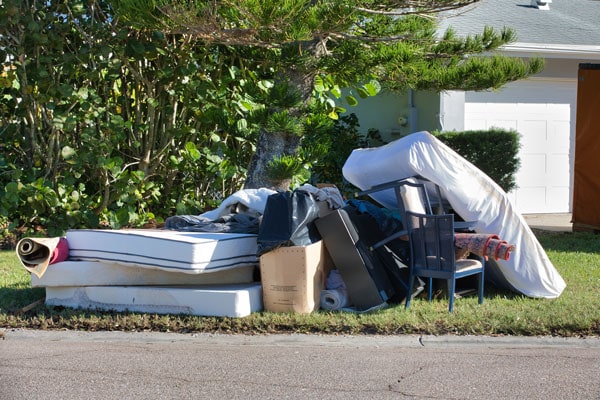
Some types of furniture will be beyond saving after a flood and should be promptly disposed of. Generally, furniture and cabinetry made out of medium density fiberboard (MDF) will be ruined by even short term exposure to water. Drywall is often damaged beyond repair by floodwaters, so you may want to remove soaked drywall panels as well.
Remember that flooding may even damage objects higher up – ceiling tiles have a tendency to readily soak up water and need to be removed before the drying process can begin.
Step 5) Disinfect all surfaces
Disinfecting surfaces after a flood is important for two reasons: first, it helps to kill any pathogens that may have been brought in by the floodwaters, and second, it helps buy you time in your battle against mold.
As we said earlier, mold spores are literally everywhere. No matter how clean your home is, every surface has mold spores on it! Using a disinfectant can help kill the majority of these spores, letting you get your home dry enough that it is no longer at risk for mold growth.
The Centers for Disease Control and Prevention (CDC) recommends that homeowners make their own disinfectant spray using chlorine bleach and tap water. The correct ratio is 1 cup of bleach per gallon of water – resist the temptation to use more as it will not make the cleaning liquid any more effective, but will make it much more dangerous!
Always wear a respirator and ensure proper ventilation when using bleach as a disinfectant. While bleach is a powerful biocidal chemical and kills bacteria and molds, it can also cause serious health problems when misused.
Step 6) Dry the area thoroughly
The key to success or failure completely hinges on your ability to dry the affected areas quickly and thoroughly. Once standing water and soaked flooring has been removed, it is vital to introduce as much airflow and dehumidification as possible. You will need to use fans and dehumidifiers for at least 2 weeks.
Professional mold remediation companies have a variety of industrial fans, dehumidifiers, and even heaters which they use to rapidly drive water out of your home. For serious floods you may want to start the process yourself while you wait for your restoration company to arrive, and then switch to their heavy-duty equipment as soon as it’s available to use.
Act Fast to Prevent Mold Problems
Preventing mold growth after a flood is all about acting quickly to dry out your home and eliminate excess moisture. In the case of minor flooding, this may be a DIY project, however, professional mold remediation is recommended for floods impacting areas larger than 10 square feet – or about the size of a broom closet!
When working in flood waters, take the necessary precautions to first protect yourself and then work quickly to remove water and soaked materials, disinfect surfaces, and dry the area. If all goes to plan, you’ll be able to get your home’s moisture levels under control before mold has time to take hold!
